How to Update License Keys for IBM Aspera Web Applications: 2025 Update

How to Update License Keys for IBM Aspera Web Applications: 2025 Update
IBM Aspera has several web applications available to enable high-speed data transfer for you and your users, and to manage, monitor, and report on those transfer sessions.
Aspera Shares, Aspera Faspex, Aspera Console and Aspera Orchestrator are all customer-hosted web application options and are available with your Aspera Enterprise license.
Changing the license key for these applications is a straightforward process that can be done by an application administrator through the web interface. Here are the steps you need to take for each application:
IBM Aspera Faspex
- Log in to the Faspex application as an administrator.
- Navigate to the Server menu item, then under the Configuration tab, click on License.
- Either click Browse and select the new license file from your local machine – OR – copy and paste the contents of that license file in to the text box, then click Update and Validate License.
- Your new license information will be displayed and will take effect immediately.
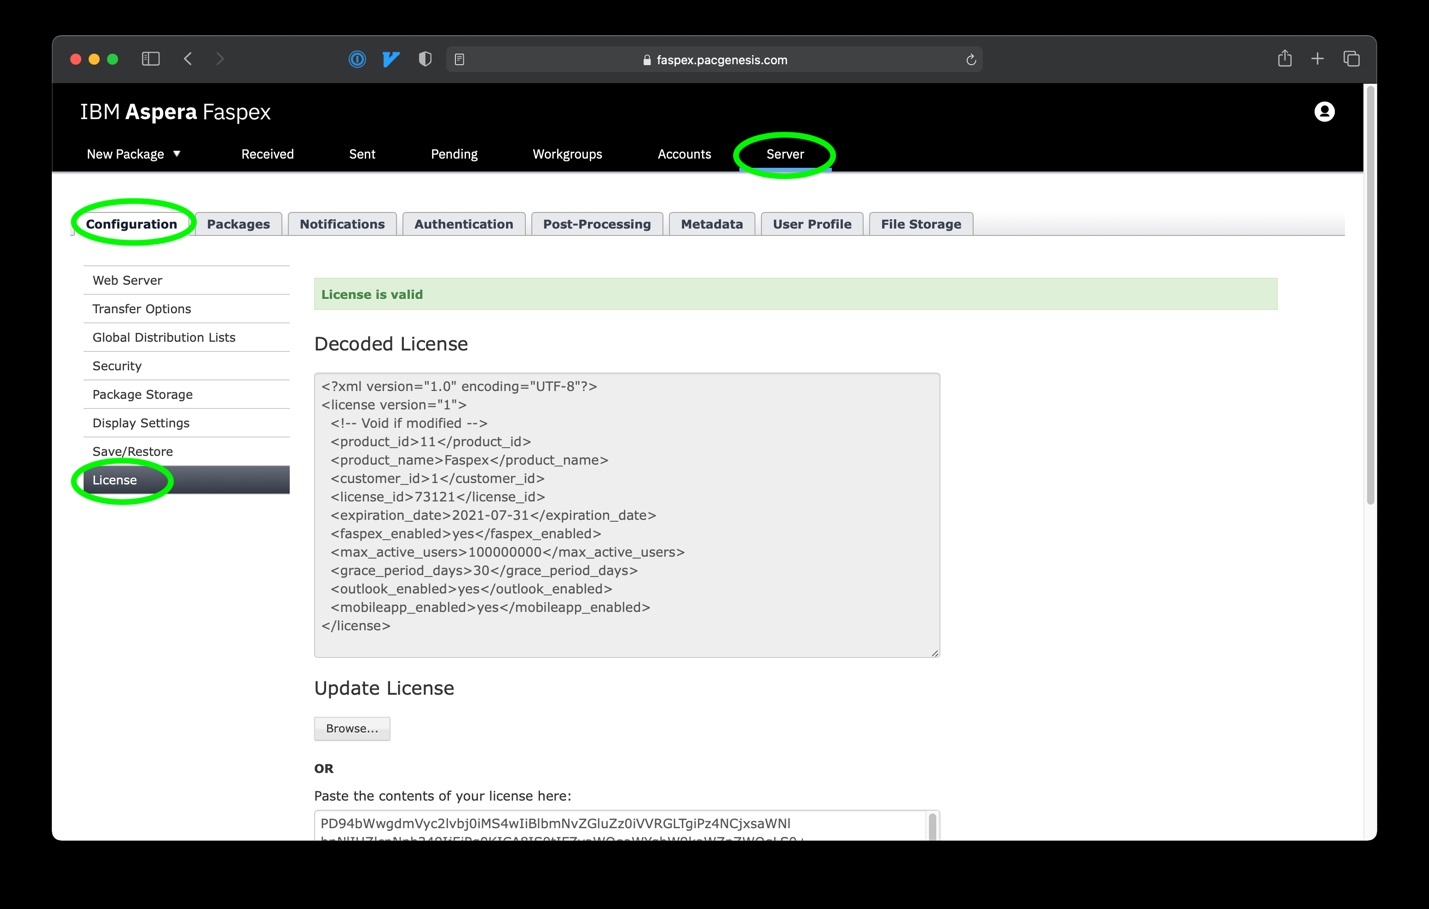
Figure 1 – Aspera Faspex license screen
IBM Aspera Shares
- Log in to the Shares application as an administrator.
- Navigate to the Admin menu in the upper right, then click on License under the System Settings heading on the left hand side.
- Click Change License, then copy and paste the contents of your new license file into the text box.
- Click Save, and your new license information will be displayed and will take effect immediately.
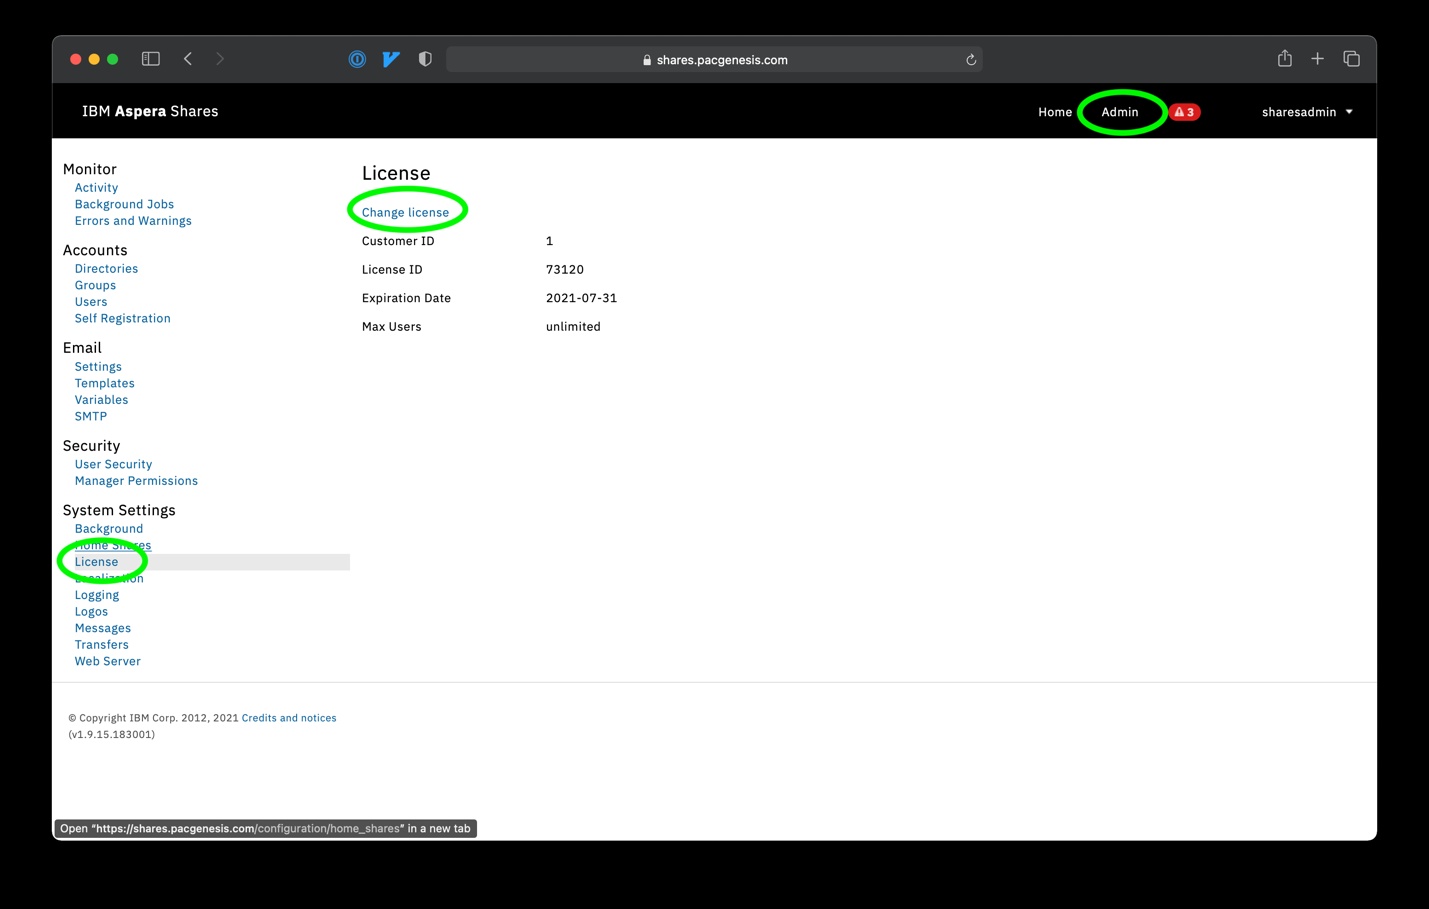
Figure 2 – Aspera Shares license screen
IBM Aspera Console
- Log in to the Console application as an administrator.
- Navigate to the Configuration menu, then click on the License tab.
- Either click on Upload a license file and browse to your new license on your local machine – OR – copy and paste the contents of your new license file into the text box and click Save.
- Your new license information will be displayed and will take effect immediately.
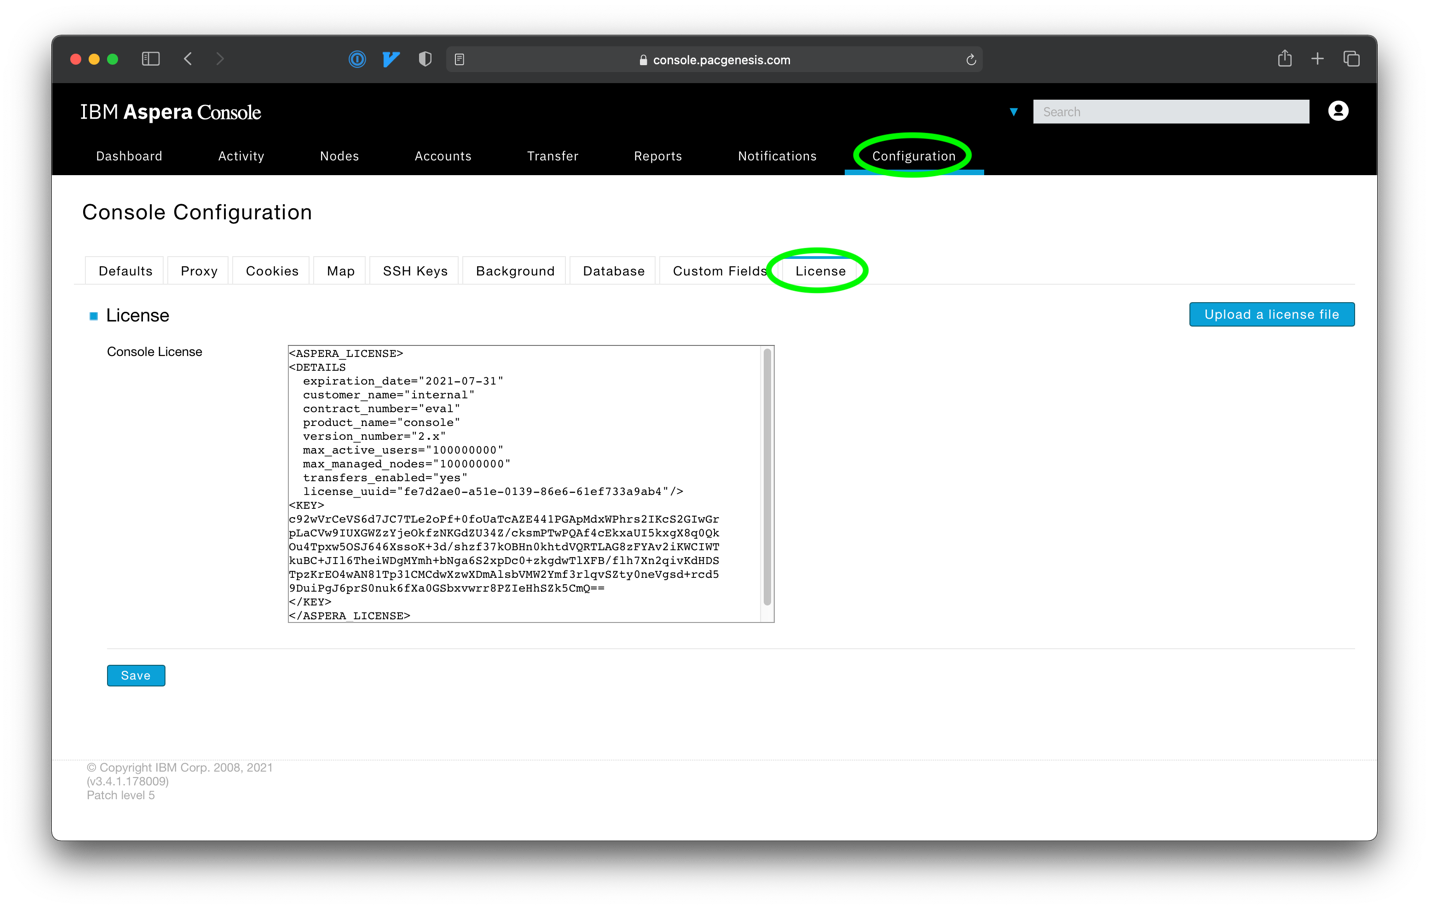
Figure 3 – Aspera Console license screen
IBM Aspera Orchestrator
- Log in to the Orchestrator application as an administrator.
- Navigate to the Engine menu, then click on License on the left hand side.
- Either click Choose File and browse to your new license file on your local machine – OR – copy and paste the contents of your new license file into the text box shown and then click Update and Validate License.
- Your new license information will be displayed and will take effect immediately.

Figure 4 – Aspera Orchestrator license screen
IBM Aspera Proxy
- SSH in to the server running Aspera Proxy.
- Either become root, or use sudo to edit /opt/aspera/proxy/etc/aspera-license
- Copy and paste the contents of your new license file into this file.
- Run ascp -A to confirm your new license details.
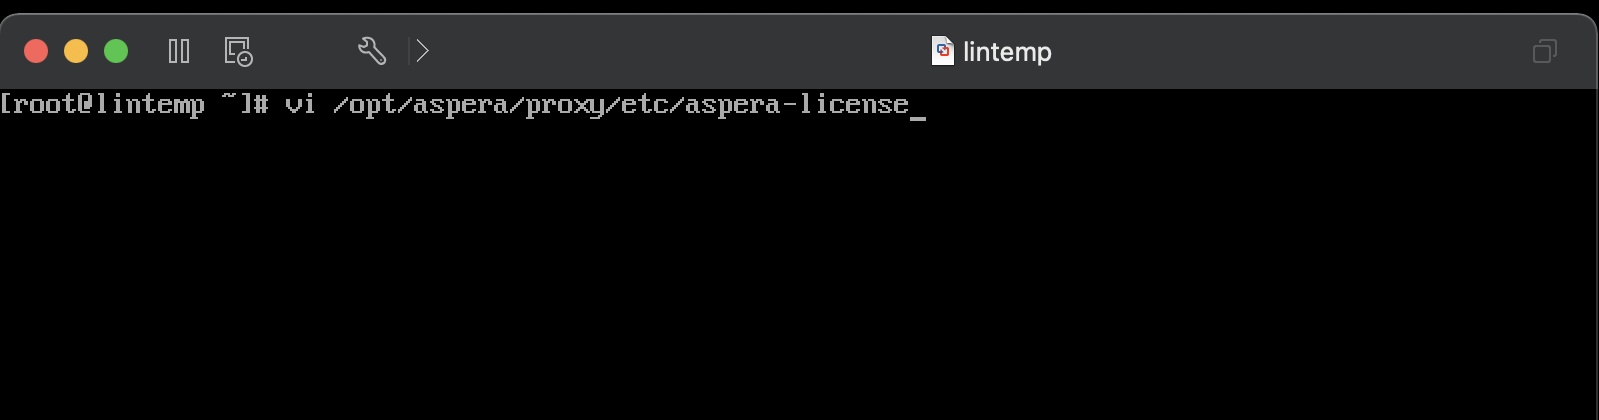
Figure 5 – Aspera Proxy license file location
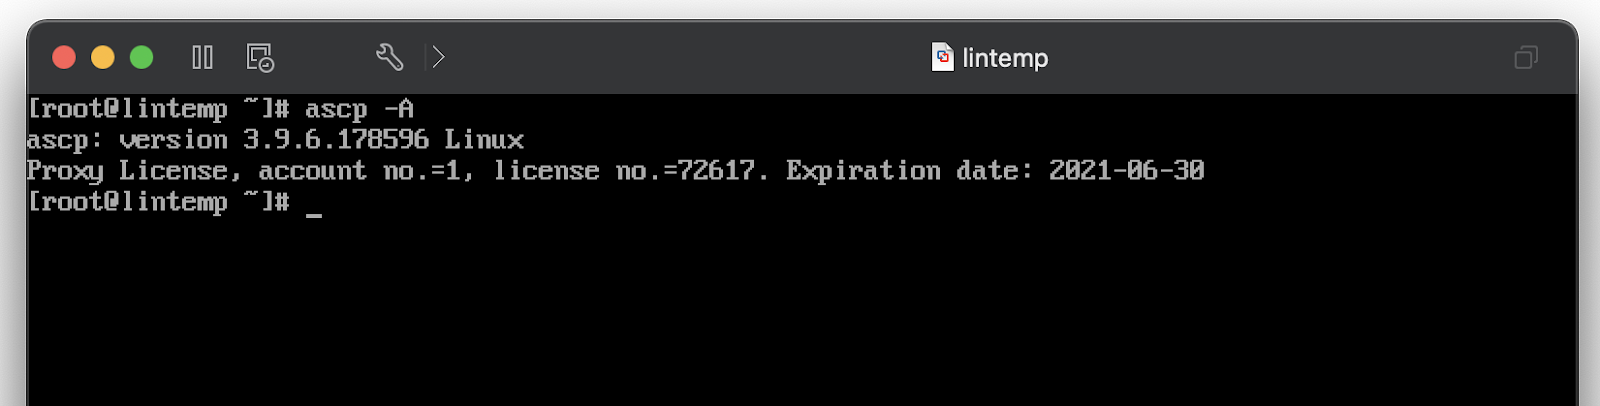
Figure 6 – Aspera Proxy license validation
To learn more about PacGenesis, follow @PacGenesis on Facebook, Twitter, and LinkedIn or visit us at pacgenesis.com.